Displaying Team Information
The ClientClick website builders offers different ways to display your team and options for branding.
1. Access ClientClick and open your Website builder.
Before you set up your website, make sure your Team Members and Profile is set in the Account Settings
2. Open the Team Info Block
2.1. Display Team Members layout
Displays up to 6 team members and their contact details. Add a link to display the full team page.
2.2. Display Group layout
Displays a group photo or logo and the team office contact information. You can set your team information in Account settings. The default option is the website owner's contact information
3. On the Home Page, open the "Team Info" section
- Enable Team Information Widget
- Add your Team Name, Tagline and your team description in the "Body Text" editor
4. Add Call to Action Buttons
In the Team Info editor, you can add a link with a customisable call to action. You are only able to add one button link.
5. Select your Team layout
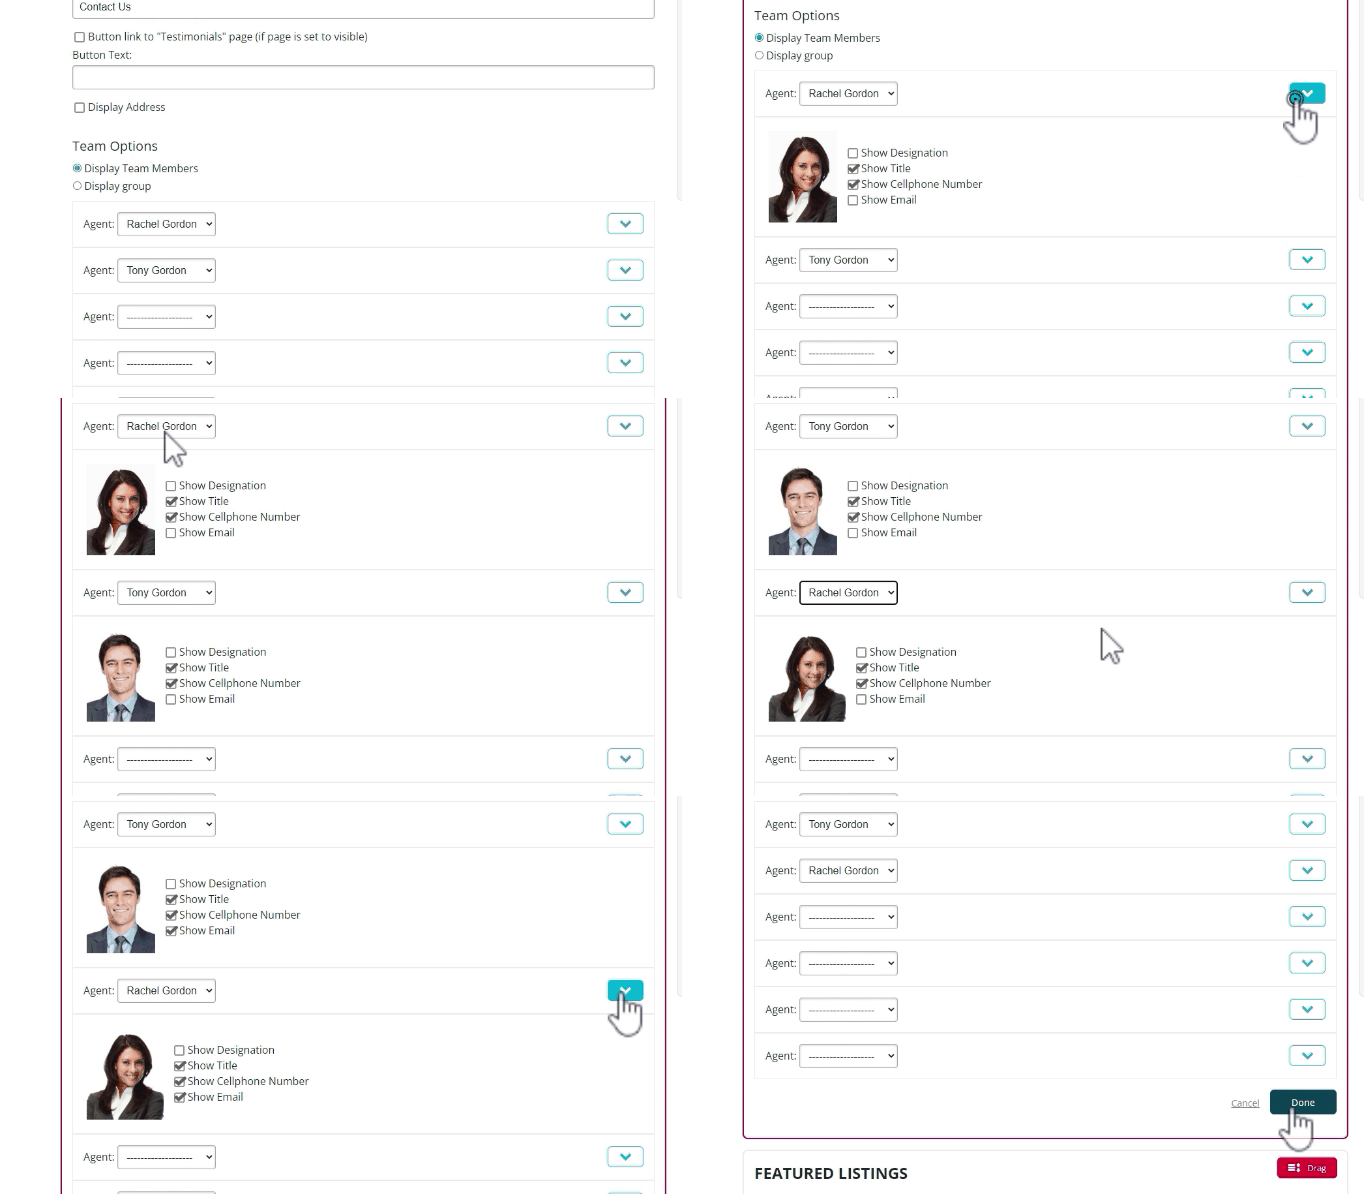
Select the "Team Option" block on the Home Page editor

When displaying "Team Members" use the drop down arrows (1) to show more options. You can select different head shot photos and display your title, designations, cell phone number and email.
6. Open "Team Footer" to display footer layout options
This information is shown at the bottom of the page. By default the website owner's contact information will display here. Your company information will also be displayed here.
You can choose which elements to display on the footer of the website. Select these options in the "Team Footer" Section


